Bat Chandelier
My newest obsession is Pinterest. I'm very late in the game...but it is the absolute best way to organize and find new ideas for Halloween, my favorite holiday, of course. This was my second attempt this year at a project I found on Pinterest. The first one was a gluey mess and did not work, so instead the Bat Chandelier it is. I found my inspiration here.
Supplies Needed:
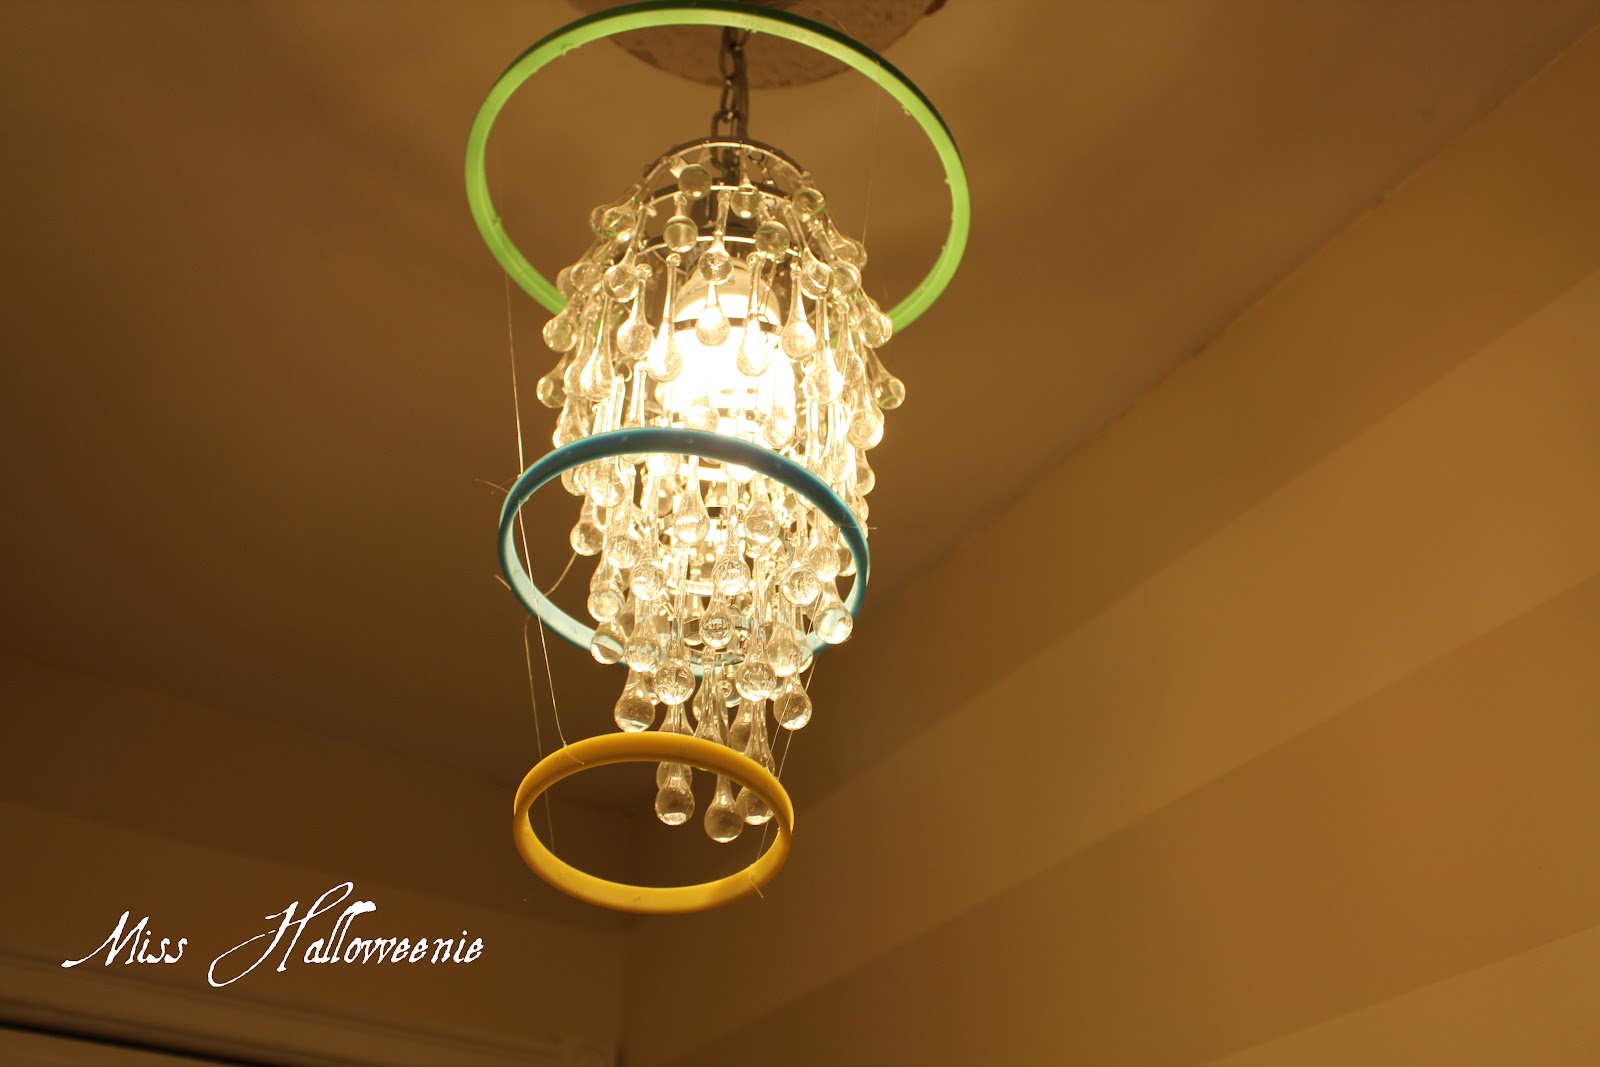
- Embroidery Hoops (10, 6, and 4 inch)
- Fishing Line
- Black card stock
- Drill and bit
- Black Spray Paint
First I took the embroidery hoops and drilled holes through them with the smallest drill bit I had in my set, which was a 1/16" bit. I didn't really measure, just did 8 on the smallest one, 12 on the medium on, and just a hole every inch or so on the largest. Then I used fishing line to tie the three hoops together, using 4 holes on each level. I measured around my existing chandelier in my front entrance hallway to make sure it looked right.
After tying everything together, I took it down and hung it up outside on my back porch. I used the hooks from my Christmas lights that I leave up all year. I sprayed it with black glossy spray paint. I already had the can, so I wasn't particular on the finish. As it was drying outside I started on the bats.
Last year I had made bats that were all over the hallway wall. I wanted these bats to match, so I traced around that bat and then just cut about half an inch inside the line to make the exact same bat, just smaller. I made 24 of these little bats. I didn't trace all of them, just cut around my first one. I used the same drill bit to put tiny holes in the tops of all of the bats heads so that I could run fishing line through them to tie them to the chandelier.
After the paint dried I brought it back inside and hung it up over the chandelier again. I cut pieces of fishing line and threaded one side through the hole in the bat's head and then threaded the other end through one of the holes in the embroidery hoops. I just tried to space them as evenly as possible.
And here is the finished product.


No comments:
Post a Comment